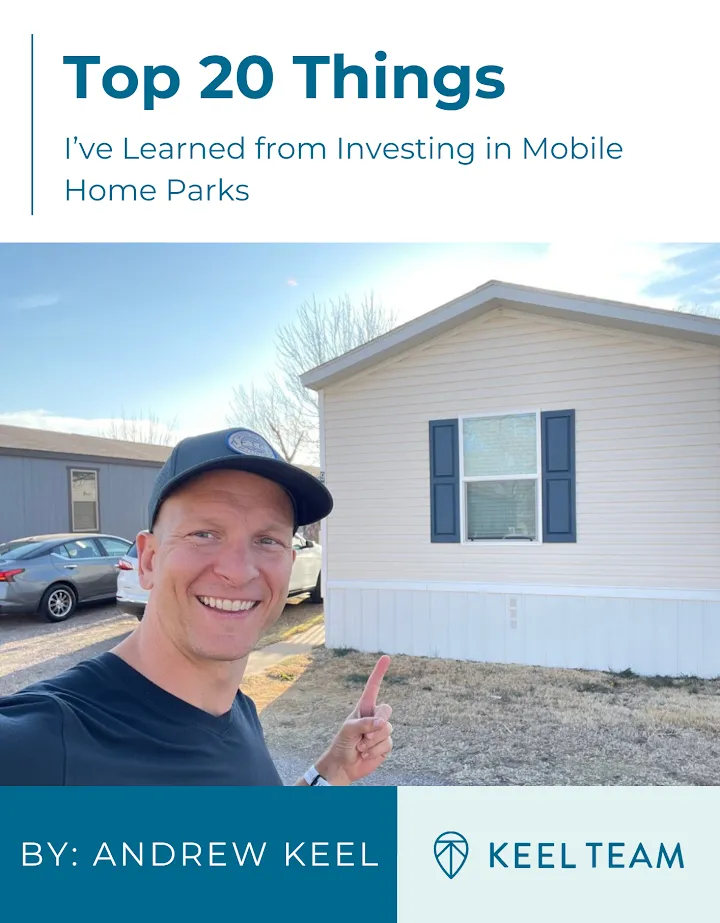
You’ve identified a promising mobile home park. The financials check out on paper — the cap rate looks solid, the lot rent is below market, and the location is close to a growing MSA. Now comes one of the most critical steps in the acquisition process: the mobile home park site visit.
A site visit isn’t just a formality. It’s where deals get confirmed — or killed. What you see on the ground can either validate your underwriting or uncover problems that no spreadsheet could capture. This guide breaks down exactly what to look for, question by question, during a thorough mobile home park site visit.
Why the Mobile Home Park Site Visit Matters
Sellers and brokers present mobile home parks in the best possible light. Photos can be carefully selected. Financials can be presented in a favorable way. But a site visit puts you in direct contact with the physical reality of the asset.
Experienced operators know that the site visit is where you validate — or challenge — every assumption in your underwriting model. Problems discovered during a site visit can become negotiating leverage, deal-breakers, or simply important operational data points for your business plan.
As part of a disciplined approach to investing in mobile home parks, the site visit belongs early in the due diligence process — before you go deep on financials but after you’ve confirmed the basic deal thesis makes sense.
What to Evaluate: The Six Key Areas
1. Infrastructure: Roads, Drainage, and Common Areas
Start with the bones of the property. Walk or drive every road in the community and look for:
- Road condition: Are roads paved, gravel, or dirt? What’s the condition — cracks, potholes, standing water? Road replacement can cost $50,000–$150,000+ per community depending on size. Factor that into your capital expenditure budget.
- Drainage: Does water drain away from homes and roads? Poor drainage leads to flooding, mold, and unhappy residents.
- Lighting: Adequate street lighting is a safety issue and a community quality signal.
- Common areas: Is there a community center, playground, or laundry facility? What condition are they in? Are they in use or abandoned?
2. Utilities: The Most Critical Factor
Utility infrastructure is arguably the most important thing to evaluate during a mobile home park site visit. This is where unexpected costs hide.
- Water system: Is the community on city/municipal water or a private well? Private wells require testing, maintenance, and compliance — all added expenses. City water is almost always preferable.
- Sewer system: Municipal sewer is the gold standard. Private septic systems and lagoons carry significant maintenance cost and regulatory risk. Learn more about why utility type is the #1 due diligence factor before buying.
- Electric: Who provides power? Are there overhead lines that need updating?
- Billing model: Does the park bill residents directly for utilities, or are utilities included in lot rent? A sub-metering system or RUBS (Ratio Utility Billing System) can significantly boost NOI.
3. Homes: Condition of the Housing Stock
Walk through occupied and vacant lots and assess the overall condition of homes. You’re not buying the homes (in most cases), but their condition affects community quality, resident retention, and future infill potential.
- Age of homes: Pre-HUD homes (built before 1976) can be problematic from a financing and safety standpoint. A community full of aging, deteriorating homes signals future turnover and infill challenges.
- Vacant lots: Count them carefully. How many empty lots exist, and are they serviceable? Vacant lots represent upside — but only if you can infill them. Review your acquisition criteria framework for how occupancy factors into deal analysis.
- Park-owned homes (POH): If the seller owns homes in addition to the land, understand what you’re inheriting. Park-owned homes bring rental income but also maintenance headaches. The ideal end state is tenant-owned homes.
- Deferred maintenance: Are homes in obvious disrepair? Is the seller responsible, or are residents? This affects your operating projections.
Two decades of hard-won lessons distilled into one free guide. Whether you’re evaluating your first deal or your fiftieth, these insights will sharpen your approach.
4. Safety and Community Access
You’re evaluating more than the physical property — you’re assessing whether this is a community where residents want to live.
- Signage: Is the entrance clearly marked? Is there a name, address, and professional appearance?
- Access roads: Is there a single point of entry or multiple? Emergency access (fire, EMS) requires adequate road width and clearance.
- Crime and safety signals: Are there abandoned vehicles, significant trash, or signs of vandalism? These aren’t just aesthetic — they reflect community management quality and resident demographics.
- Talk to residents: If possible, have a brief conversation with a resident or two. Ask how long they’ve lived there, what they like, and what could be improved. This is invaluable market research that no financial statement provides.
5. Location and Surrounding Market
The best mobile home park in a declining market is still a risky investment. Use the site visit to confirm your location thesis.
- Drive the surrounding area: What’s within a 5-mile radius? Jobs, retail, schools, hospitals, and transit access all affect resident stability and demand.
- MSA proximity: Confirm the distance to your target metropolitan statistical area. A community within 30–45 minutes of a strong job market will outperform a rural community every time.
- Competing communities: Are there other mobile home parks nearby? Drive by them and assess their condition and lot rent positioning. Understanding competition helps you validate your rent growth assumptions.
- Zoning and development pressure: Check what surrounds the property. Industrial neighbors can hurt resident quality of life. But note: mobile home park zoning is actually a protective moat — most municipalities won’t permit new mobile home parks, limiting new supply.
6. Occupancy: Count It Yourself
Never trust the seller’s occupancy numbers without verification. During the site visit, physically count occupied versus vacant lots.
- Walk every street and note which lots have homes and which are empty
- Distinguish between homes present but vacant (POH vacancies) and empty lots with no home
- Note any homes that appear abandoned or uninhabitable
- Compare your count to what the rent roll shows — discrepancies are red flags
Occupancy directly drives NOI. Even a 5-lot discrepancy between reported and actual occupancy can materially change your underwriting. Verify. Then verify again.
What to Bring on Your Site Visit
Come prepared:
- A camera (or smartphone): Photograph everything — roads, utilities, homes, meters, common areas. You’ll reference these photos during due diligence.
- A lot map: Cross-reference what you’re seeing against the site plan. Are all lots where they should be?
- A notepad or voice recorder: Take notes on every issue you observe. These become negotiating points.
- Your due diligence checklist: A structured checklist ensures you don’t miss anything in the moment.
Red Flags That Should Give You Pause
Not every problem is a deal-killer. But certain site visit findings should give any serious buyer pause:
- Private septic or lagoon system with no municipal sewer option
- More than 30% vacant lots with no clear infill strategy
- Widespread home deterioration with multiple abandoned units
- Signs of significant deferred infrastructure maintenance
- Surrounding market with declining population or no nearby employment
- Significant discrepancy between reported and actual occupancy
After the Site Visit: What Comes Next
A strong site visit doesn’t end the process — it launches it. Use what you’ve learned to:
- Update your underwriting assumptions
- Build a capital expenditure budget for identified issues
- Prepare a list of specific questions for the seller
- Request documents that validate or contradict what you observed (rent roll, utility bills, service contracts)
The site visit also gives you credibility in negotiations. Sellers respect buyers who have actually walked the property and understand what they’re buying. It often opens more honest conversations about pricing, condition, and history.
Conclusion
The mobile home park site visit is one of the most valuable tools in a buyer’s toolkit. It’s your chance to see past the marketing materials and understand the asset on its own terms. The six areas covered here — infrastructure, utilities, home condition, safety, location, and occupancy — give you a comprehensive framework for any community you evaluate.
Pair a thorough site visit with disciplined financial analysis, and you’ll make better acquisition decisions and avoid costly surprises after closing.
10 video modules, a 55-page master checklist, and 9 ready-to-use templates that walk you through every step of evaluating a mobile home park deal — from the first site visit to closing day.
Get the top 20 lessons from two decades of mobile home park investing — free.